Writing the Thai alphabet follows one rule that covers nearly every letter: start at the loop, and write the letter in a single continuous stroke. The little circle you see on most Thai letters (the head, หัว (hǔa)) is where your pen begins; everything else flows from it. Learn that rule and the 44 consonants stop being 44 separate drawings.
Plenty of learners type Thai for years without writing a single letter by hand, and that's fine. But if you're learning to read, handwriting is the shortcut nobody advertises: forming a letter forces you to notice exactly what makes it different from its lookalikes, which is the skill reading depends on.
This guide gives you the writing system in the right order: the one rule, the shape families, your first 10 letters, and the beginner mistakes that make Thai handwriting illegible.
Key takeaways
- Nearly every Thai letter starts at its loop (the head) and is written in one continuous stroke, without lifting the pen.
- The 44 consonants fall into a handful of shape families; learn the family, and the members come almost free.
- Loop direction matters: a loop drawn the wrong way around rounds into the wrong letter.
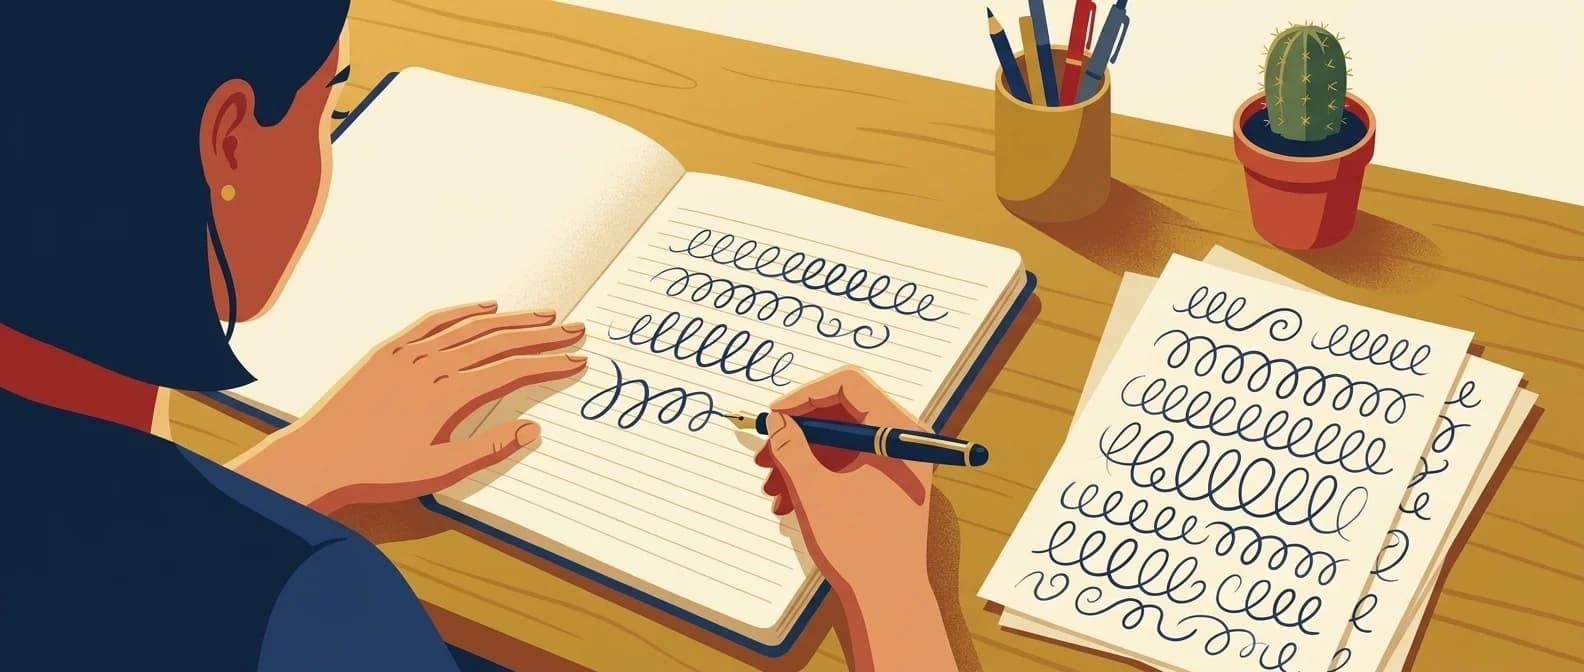
- Write your first letters large, lined, and slow. Speed and personal style come after the proportions are stable.
- Ten letters is enough to start: they cover the shapes you'll reuse across the whole alphabet.
Why bother writing by hand at all
Reading Thai means telling apart letters that differ by a loop's position or a notch: ถ (thɔ̌ɔ) vs ภ (phɔɔ), ด (dɔɔ) vs ค (khɔɔ), บ (bɔɔ) vs ป (pɔɔ). When you only look at letters, those differences blur. When you write them, your hand is forced to encode exactly where the loop sits and which line goes up. Studies of script learning aside, every teacher sees the same thing: students who write 5 letters a day learn to read faster than students who flashcard 20.
Handwriting also future-proofs you. Menus, signs, and notes in Thailand are full of stylized and handwritten type, often with the loops simplified away. If your hand knows the skeleton of each letter, your eye recognizes the stylized version.
The one rule: start at the loop
Look at ม (mɔɔ), น (nɔɔ), บ (bɔɔ), ผ (phɔ̌ɔ). Each has a small circle. That circle is the head (หัว (hǔa)), and it's the starting point of the letter. The sequence is always:
- Draw the loop first, in one motion.
- Continue into the body of the letter without lifting your pen.
- Finish at the tail, usually an upward or downward stroke at the far side.
One stroke, loop to tail. Letters without loops (like ก (kɔɔ) and ธ (thɔɔ)) are the exceptions, and even they are single strokes that start where the loop would be.
This is why Thai writing looks fluid: it is. There's no assembling letters out of separate bars and dots the way you build an English capital E.
The shape families
Don't learn 44 shapes; learn the families and their differences:
| Family | Letters | What separates them |
|---|---|---|
| The bowls | บ (bɔɔ) ป (pɔɔ) ษ (sɔ̌ɔ) | A bowl with a left loop; ป adds a tall right mast |
| The double-humps | ผ (phɔ̌ɔ) ฝ (fɔ̌ɔ) พ (phɔɔ) ฟ (fɔɔ) | Two humps; ฝ/ฟ add the tall mast, พ/ฟ start the loop inside |
| The arches | ม (mɔɔ) น (nɔɔ) ห (hɔ̌ɔ) | An arch after the loop; ห starts with a taller hook |
| The open-tops | ก (kɔɔ) ถ (thɔ̌ɔ) ภ (phɔɔ) ฌ (chɔɔ) | The chicken shape; ถ and ภ add loops in different corners |
| The round-bellies | ด (dɔɔ) ต (tɔɔ) ค (khɔɔ) ศ (sɔ̌ɔ) | A belly plus a notch (ต), an inside loop (ค), or a flick (ศ) |
| The tails | ง (ngɔɔ) จ (cɔɔ) ร (rɔɔ) ล (lɔɔ) ส (sɔ̌ɔ) | Short letters defined by their distinctive tails |
These shape families are strictly a visual hack to help your brain recognize and draw the characters — they do not mean the letters share the same sound.
(The remaining letters are rarer shapes you'll pick up individually; our complete alphabet guide covers all 44 with audio.)
Within a family, write the shared skeleton until it's automatic, then drill the differences as a set. That's also exactly where lookalike confusion comes from, so you're attacking your future reading errors at the source.
Your first 10 letters
Start with high-frequency letters that establish the core shapes. Hear each one's name as you practice:
Write each letter ten times, large, on lined paper: loop, body, tail. Tomorrow, write yesterday's letters once each and add two new ones. Ten letters in, you'll recognize the families on sight, and the printable alphabet chart on your desk becomes a map instead of a wall.
The mistakes that make Thai handwriting illegible
- Loops drawn the wrong direction. The loop's direction decides where the pen exits, which decides the letter's whole flow. If your ม (mɔɔ) keeps morphing into something else, check your loop direction first.
- Wrong proportions. Thai letters live between two imaginary lines, with masts (ป, ฝ) escaping above and tails (ฎ, ฏ) dropping below. Beginners write masts too short, which turns ป back into บ.
- Lifting the pen mid-letter. Assembled letters look subtly wrong and slow you down. One stroke.
- Starting too small. Small handwriting hides your errors from you. Write big until the shapes are stable, then shrink.
- Skipping the vowels. Vowel symbols like อิ and อุ have positions and proportions too; practice them attached to a consonant, not floating alone. (More on the vowel system in Thai vowels explained.)
Paper, apps, or just typing?
Paper wins for the first month: the friction of a pen builds the motor memory that tracing on glass doesn't quite match. Print the free alphabet chart PDF, keep it next to your notebook, and copy from it daily.
Apps earn their place after that, for spaced repetition and for checking yourself when no teacher is around. And whenever you meet a new word in the wild, paste it into the free transliteration tool to hear it and see its tones while you copy it down by hand. Reading, writing, and listening reinforce each other; that's the whole trick.
Full honesty from my own learning: in daily life I write Thai almost entirely on a phone and laptop, and typing is arguably the more useful modern skill; it took me years to start writing regularly and I'm still slow by hand. The pen earns its keep in the first months, where forming letters teaches your eye to read. After that, type away guilt-free.
Frequently asked questions
What order should I write Thai letters in?
Start at the loop (the head), then write the rest of the letter in one continuous stroke, finishing at the tail. For letters without a loop, start where the loop would be. Write left-to-right components in order, and add vowels and tone marks after the consonant.
Is Thai handwriting hard to learn?
It's repetitive more than hard. The 44 consonants reduce to a handful of shape families that share the same strokes, and almost every letter is a single stroke. Ten minutes of daily practice for a few weeks produces legible, fluent letters.
Do Thai people write with the loops?
In careful handwriting, yes. In fast handwriting and in many modern display fonts, the loops shrink or vanish, which is exactly why learning the looped forms first matters: they're the skeleton that makes the loopless styles readable.
Should I learn to write Thai before learning to read it?
Learn them together. Writing a letter forces you to notice the details that distinguish it from lookalikes, which is the core skill of reading. Five written letters a day beats twenty flashcards.
Ten minutes a day, loop first
Thai handwriting is a system, not an art project: one rule, a few families, and a daily ten minutes. Print the chart, pick up a pen, and start with ม (mɔɔ).
Your practice companion, free
Download the printable alphabet chart (PDF)All 44 letters color-coded by class, print it next to your notebook.